So, after my first foray into Dux Bellorum with Grahame on my last post (BTW, apologies for not publishing the comments...I had no email notification that they'd arrived...bizarre!), I settled into two games last Monday and yesterday against Andy 'Colin of Romford' MacTaggart (in-joke for the folk who attended the WI Battle Of Catraeth sessions...sorry!) and his Saxons.
This was a much more satisfactory set of games, as he knew a bit more about the rules than me and, between us, we got pretty much everything right over the two games, or so we reckon!!
In the first game, I took the same army that I played against Grahame's Picts. It was an interesting encounter, as Andy had paid for extra leadership points and it was these, plus excellent tactical play that saw him avoid my shieldwall and focus on my cavalry, that won him the battle. It was here that I learned a real lesson about Dux Bellorum - Leadership Points matter! As mine whittled away, Andy kept his coming and in the end I lost without really doing him much damage.
Basically, Andy made me fight where he wanted me to and I was unable to get myself back into it. I lost leadership points early due to weaker units dying and then struggled with poor bravery tests. I did manage to kill some Saxons at the end, but, in dying, they destroyed my noble cavalry and I was left at less than 50% of my starting strength. At this point it was getting late so we agreed Andy had won - it would only have been a matter of time!
Another lesson here was that, where my shieldwall did fight, it held on forever! We play the optional rule about limiting leadership points that can be used to cancel out hits, but even so, the shieldwall appeared impenetrable until flanked, at which point it rightly crumbled and died. However, in this game, I used my shieldwall like I would in WAB, which isn't really what you need to do in Dux Bellorum as you can actually be more aggressive with it - a tactic I determined to try in the game yesterday.
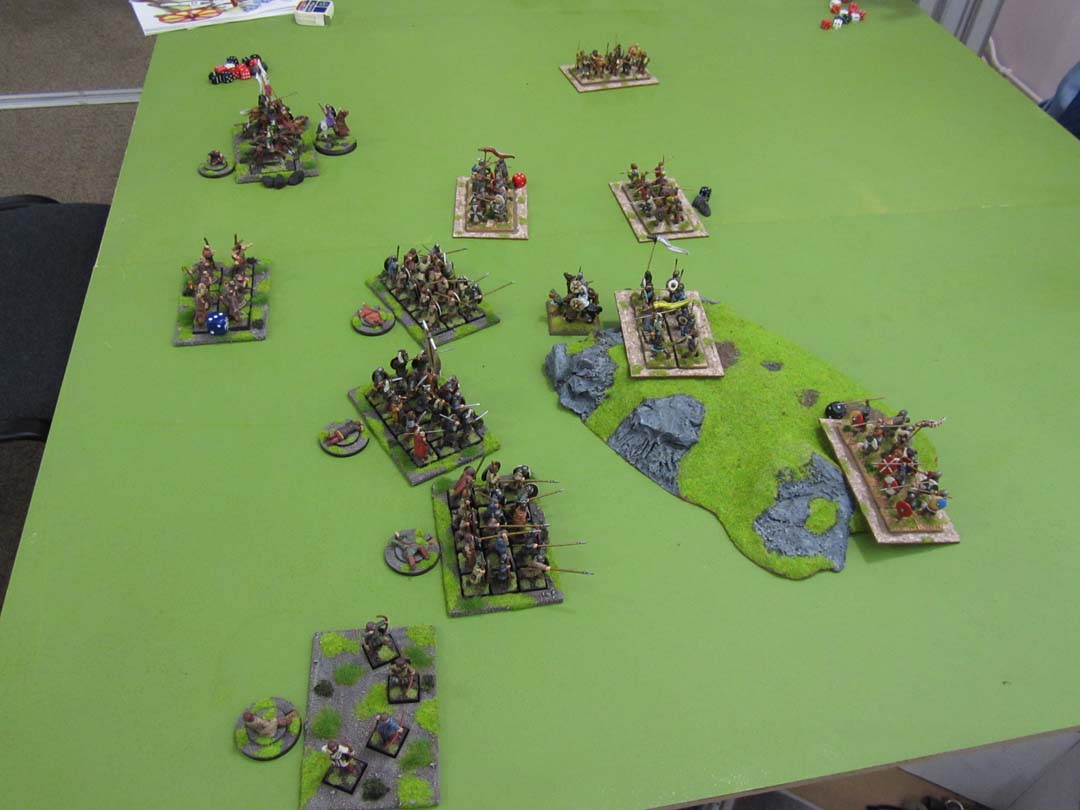
Here are the pics from game one:
 |
| Deployment... |
 |
| My advance on the right , as Andy's Saxons manoeuvre to avoid the shieldwall |
 |
| Saxon skirmishers gone and their noble cavalry plunge into my shieldwall |
 |
| The Saxon nobles' brave sacrifice is buying the Saxon infantry time in their attempt to focus on my right flank... |
 |
| My cavalry engage the Saxons on the crest of the hill... |
 |
| ...and withdraw when the heat gets a bit much! |
 |
| Aha!! I have shieldwall flanking the enemy...but they fail several bravery tests in a row and cannot charge!! Arrgh!!! Meanwhile, the Saxons' inexorable advance on my right continues... |
 |
| In trouble now!!! |
 |
| Flanked... |
 |
| Game over... |
So, to game two last night! My first task was to learn from the lessons of game one and reshape my army. I removed the 'Imposing Horsemen' rule, as it didn't work for me at this point in my Dux Bellorum career! I also decided to add another shieldwall. So this is the force I took:
Mtd Companions
1 x Noble Riders
1 x Riders
1 x Noble shieldwall
3 x shieldwall
2 x bow armed skirmishers
This left me 3 points short, so I purchased 'Monks', which gives me 2 additional leadership points anywhere within 5 BW (20") of the monks unit. It's a risk, as the monks have low bravery so will rarely move and they are obviously easy to destroy.
Andy took a small force with no skirmishers, but he purchased 3 extra leadership points (giving him 9 in total!) However this left him a little outnumbered!
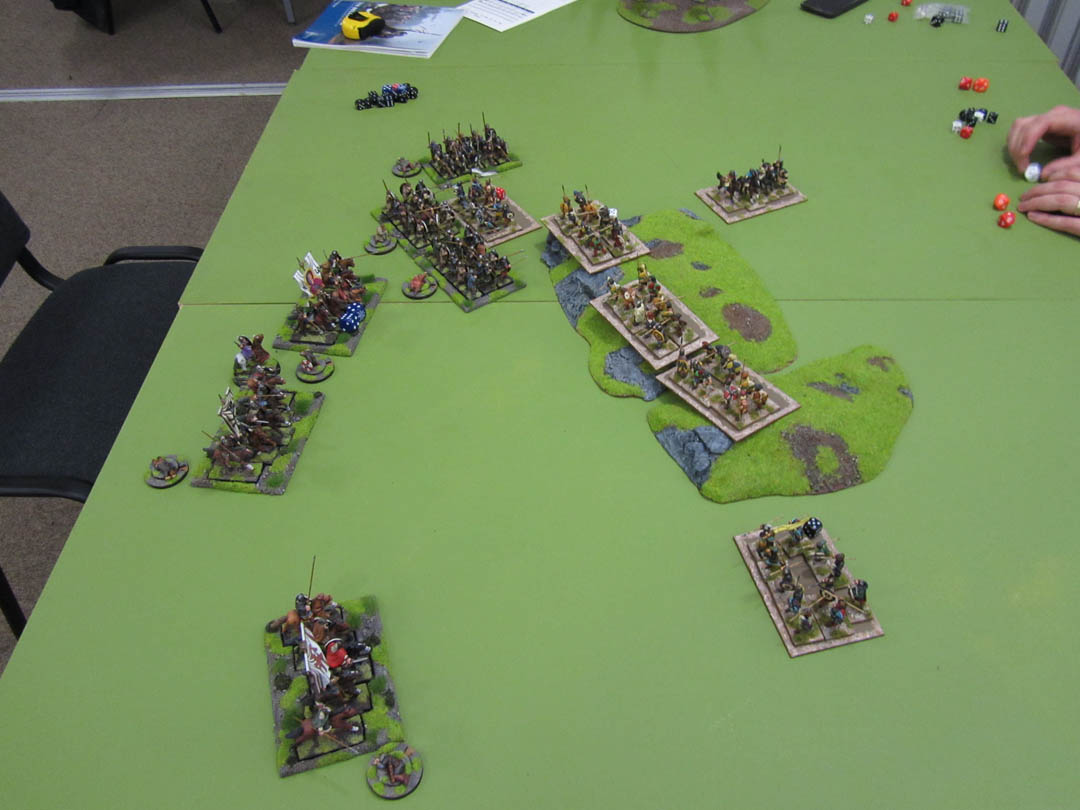
 |
| Deployment in game 2 |
My plan this time was to advance the shieldwall onto the hill and try to force the Saxon warriors to make uncontrolled charges early on so I could pin them and work the flanks. This was a good strategy, but very nearly came unstuck as Andy tried to repeat his previous tactics...

'Arthur' charged his Companions into the Saxon noble cavalry and delivered a mighty 4 hits, reducing its cohesion to 1, although the Saxon companions returned the favour and caused two hits on Arthur's unit (this is the beauty of this system - I launched all my attacks on the cavalry, as companions are only hit on a 6, whereas nobles are hit on 5+. Andy used his companions as his main unit and the cavalry as supports, so his companions loaded up attacks and his cavalry only got one D6 as a supporting unit. As they suffered more than 2 hits they were forced to withdraw...) On the hill, the combats went Andy's way with a STAGGERING succession of 6s on the shieldwall, forcing it back so it was now fighting uphill and dangerously low on cohesion. I now feared that he would punch through my centre and it would be game over...
 |
| The combats go Andy's way, but my noble riders are making a WIDE flanking move on my right... |
Fearing the worst, I hunkered down with the shieldwall, allocating leadership points to soak up hits and keep them in the game, while, at the same time, working the flanks. This resulted in the shieldwall holding, although I was unable to damage the Saxon warriors at all. My noble shieldwall being particularly ineffective. Also, my riders on the left failed a Bravery test and were unable to mover into a flanking position!!! Curses...!!! However, in my next turn, on my right, my noble cavalry charged and beat back the Saxon warriors, while Arthur conducted a fighting withdrawal. In the centre, the shieldwall held (I even managed to inflict damage on the right-most Saxon unit) and I FINALLY got those riders into position to flank the Saxons! See below! The key to all of this was those extra leadership points. I was literally using them all to keep myself in this...
 |
| It's all coming together... |
In the next turn, all hell broke loose! My noble cavalry failed a bravery test and were uncontrollably charged by the Saxon warriors. However, in the ensuing combat, the nobles redeemed themselves with kick-ass combat dice and the Saxons were obliterated. Arthur obliterated the Saxon cavalry and survived the Saxon Companions' attack, albeit with only 2 cohesion points remaining. On my left, the riders launched their flank charge with 3 extra leadership dice to boost their assault. This crushed the rightmost Saxon unit, leaving it down to 1 cohesion point. It was forced to withdraw away from the charge, found its way blocked by friends engaged in combat and therefore suffered one more cohesion hit, bringing it to 0 and making it rout. In one round of combat, Andy was now down by 3 leadership points and worse was to come, as he was also at 50% strength so had to take morale tests...
 |
| It's beginning to go Arthur's way... |
This resulted in one more unit routing as it failed its morale test. This is what it looked like at this point...
This left me free to flank-charge the remaining Saxon warrior unit with the jubilant riders who obliterated them and I rear-charged the Saxon companions with the noble cavalry - it was a risk, as they were down to 2 cohesion. It didn't pay off. I got the Saxons down to cohesion 2, but my nobles routed. However, at this point, Andy was down past breaking point. Game over and victory to Arthur!!!!
It looks like a massacre, but every one of my units is sitting there at cohesion 1 or 2, so that just shows how close it actually was!! The plan had worked. The extra leadership points from the Monks kept the shieldwalls fighting for long enough to allow the flank attack that rolled up the Saxon line. The shieldwall didn't cause many hits, but they did cause enough so that, when the flank attack came in at full pelt, it obliterated the Saxon units.
Wow...What a great couple of games!! I do like these rules. They play a little like Hail Caesar in that movement is free and fluid if units are working individually. If units are grouped (and you can group them yourself on deployment or they group automatically if moving into 'legal group position) they are more restricted, but are more likely to pass bravery tests (they always test on the highest in the group). The one odd bit about movement is that there's a funny bit in the rules about 180 degree turns. Groups can turn through 180 at the cost of one basewidth movement, which is fine. However, it also says that units can do that...which is weird as this seems unnecessary because they can move any direction when operating individually... Perhaps Dan will enlighten us...
The game has real Dark Age flavour - troops have to pass a Bravery test to move and leadership is crucial - this represents the nobles in charge cajoling their men into action. I like the fact that 'kills' in combat represent loss of combat cohesion, both men dead and loss of 'will to fight'. This negates the need to constant morale tests and means that you will never get the 'WAB moment' where an unlucky panic test results in your entire army fleeing at the end of turn 1!!!
The whole 'leadership points' thing is what makes the game. It really makes you think! Great idea - simple, but oh so effective! Well done Mr Mersey!!!!
I can see myself playing this very regularly if I can find folk to play with, as it really is great fun! I am now looking forward to trying a scenario-based approach, as, like all these Dark Age games, the real longevity is in creating 'period-specific' scenarios. There are a fair few in the book, but I reckon I can come up with a few others too.
Highly recommended to Arthurian gamers everywhere!! If you are at Salute, do come and find us! The army above is the one you'll see on the day, fighting yet more Saxons...